Managing users
To manage the users, click on the ‘All users’ tab which is the default tab content displayed when the Admin tool is accessed. The table of users shown in Figure 9 below is displayed.

Figure 9: Table showing all users
Editing User Details
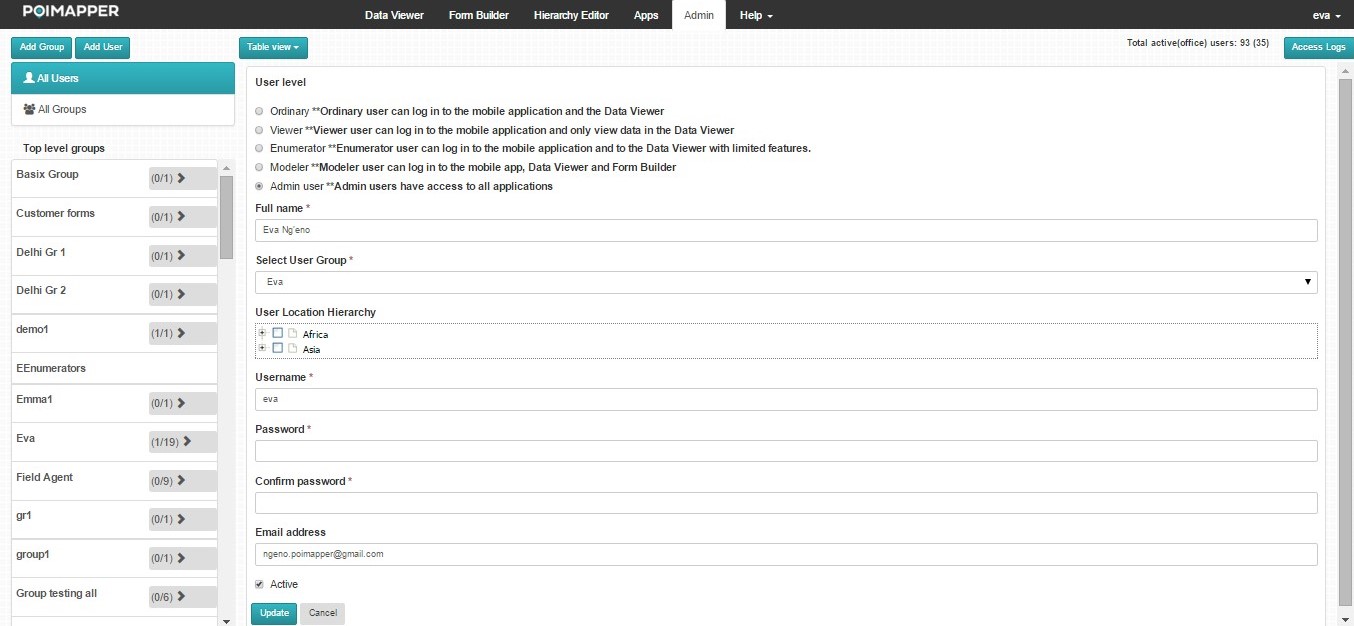
To edit the details of a given user listed in the table, select the user to be edited. Figure 10 below shows the form that is displayed after selecting the user.

Figure 10: Form displayed after selecting a user
The checkbox Can only access shared data is automatically checked if the user was regitered by sharing data. This check box is not checked manually but can be unchecked if there is a need to share more data with the user.
After making the appropriate changes, click on the ‘Update’ button. Clicking on the ‘Cancel’ button closes the window without saving any changes made.
Two factor authentication
A superuser (registered in customer admin) can activate the requirement for two-factor authentication by clicking on their usernames and checking Use two factor authentication. The super user can then select to use their email or authenticator app and click ‘Get code’ to receive the authentication code. Once they have selected and received the code, they can enter and verify it to successfully complete two factor set up

Figure: Options displayed for the super user username drop down
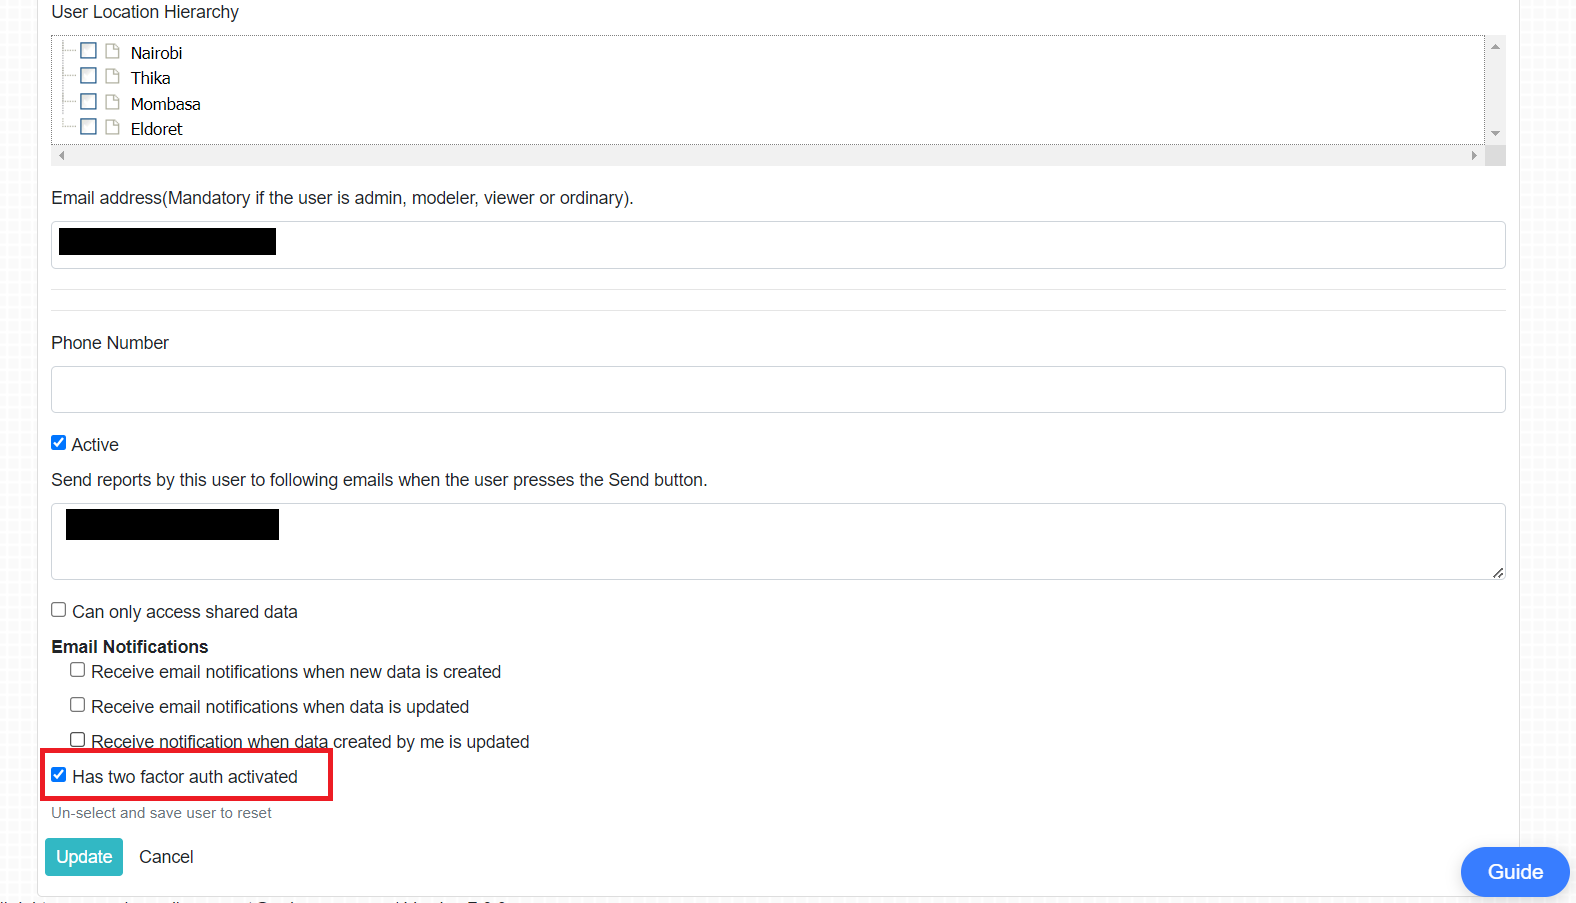
If a user has successfully set up two factor authentication, the option Has two factor auth activated becomes editable on when editing the user details from admin while ‘Use two factor authentication’ becomes disabled from their username drop down. To disable two factor authentication for a user, unselecting the option and saving changes will stop the user from being prompted for a verification code whenever they log in.

Figure: Has two factor auth activated
Delete User
To delete a user, select the user(s) using the checkboxes on the left of the user names and click on the ‘Delete’ button below the table. You’ll then be prompted to confirm the delete action. Upon clicking the ‘OK’ button, the user is removed from the table of users and can no longer access any of the applications.
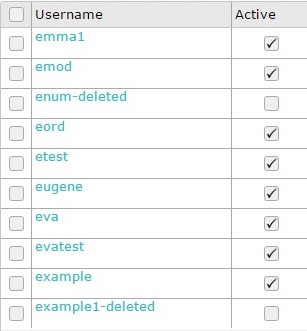
Inactive users have an unchecked checkbox under the Active column. Inactive users can be activated by clicking on the checkbox under the Active column.
Active users have a  displayed in the checkbox while inactive users have blank checkboxes as displayed in figure 11 below.

Figure 11: Active and Inactive users