Image Gallery and Importing Data
Image Gallery
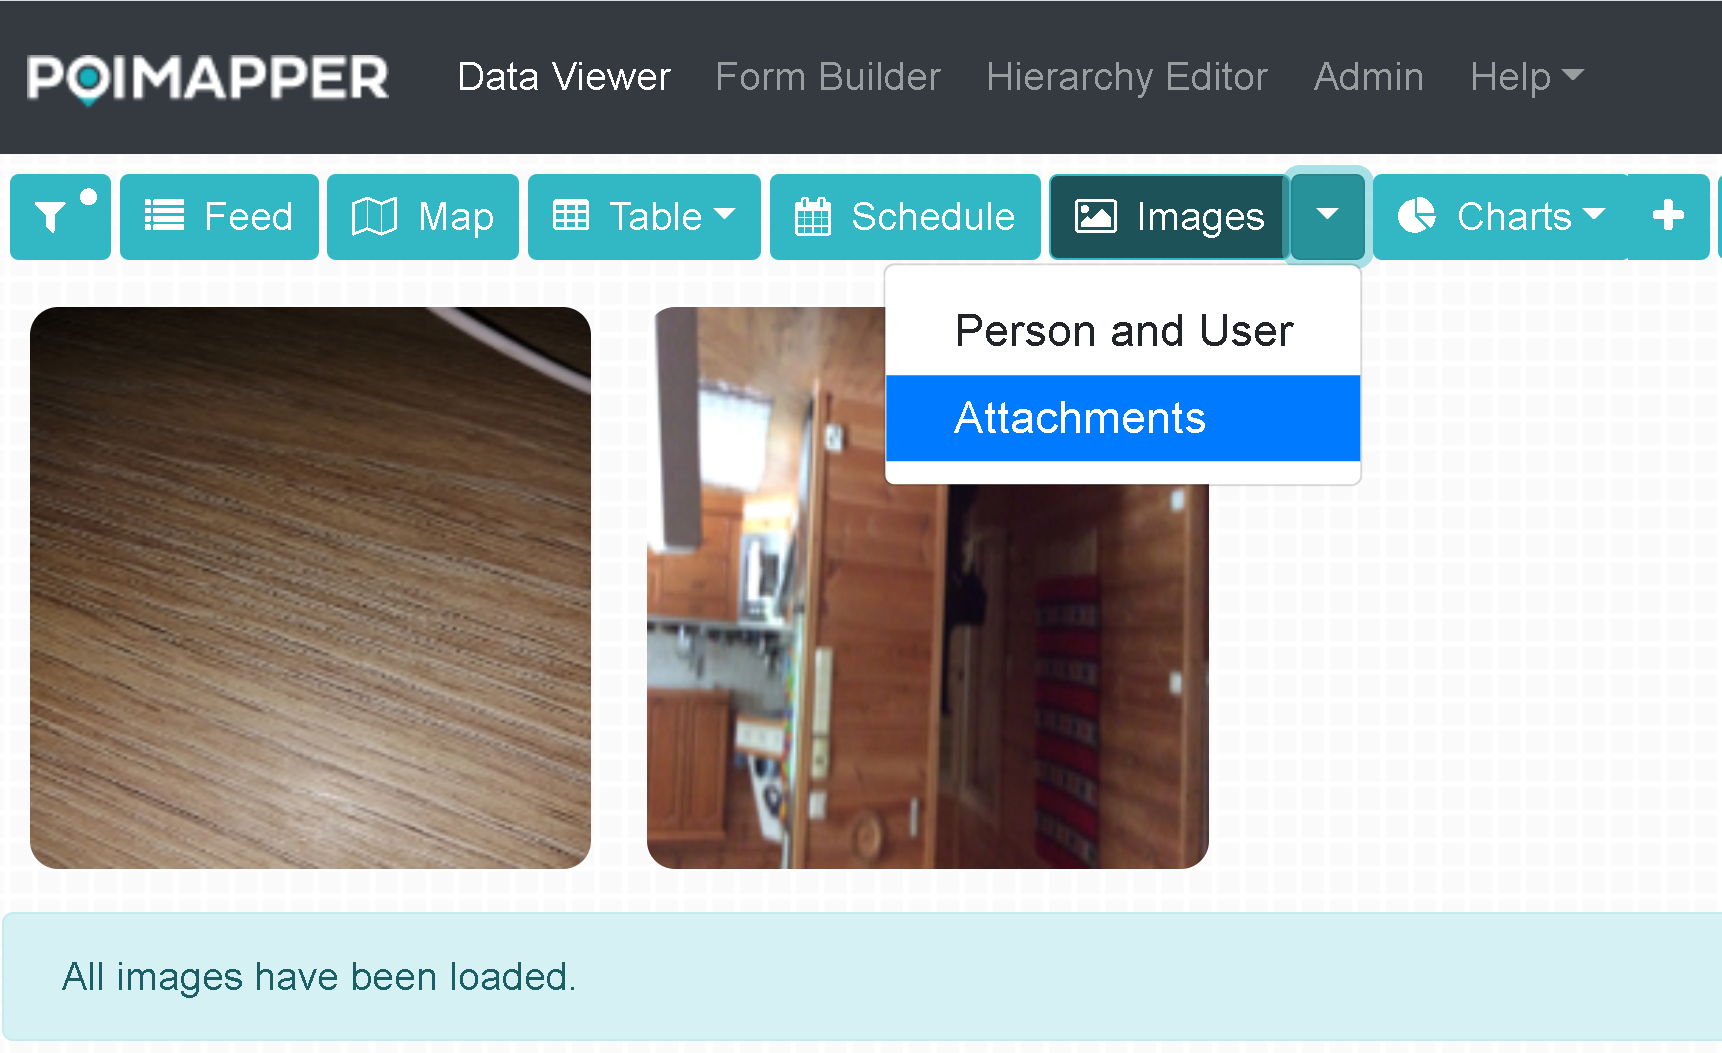
The button Images is shown if forms have been selected in filtering which have the Attach Images feature enabled in the form or subforms. A drop down is shown for selecting the form which images should be shown.

Figure 41: Selecting a form to be shown in the image gallery
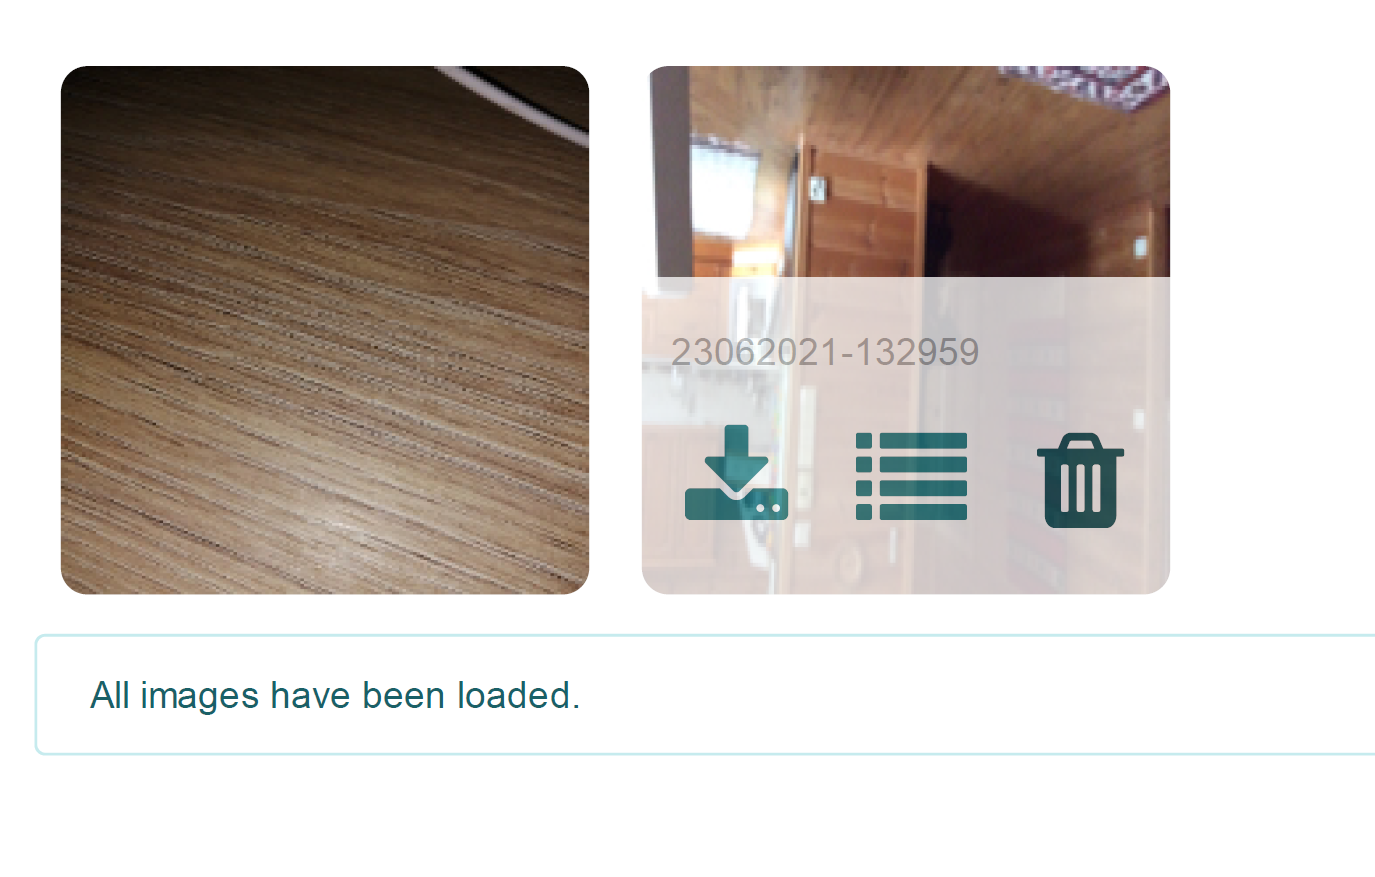
The images are retrieved stepwise with with more images downloaded as the user scrolls down the gallery. When hovering on the image thumbnail the name of the data point is shown and clickable icons are shown for downloading the image, opening the data point or removing the image from the data point.

Figure 42: Images in the gallery with clickable icons
Importing and Geocoding data
The Import feature allows you to import data as well as custom maps.
To use this feature, click on the Import button beside the Reports button. A drop down with two options : Data and Custom Maps will appear.
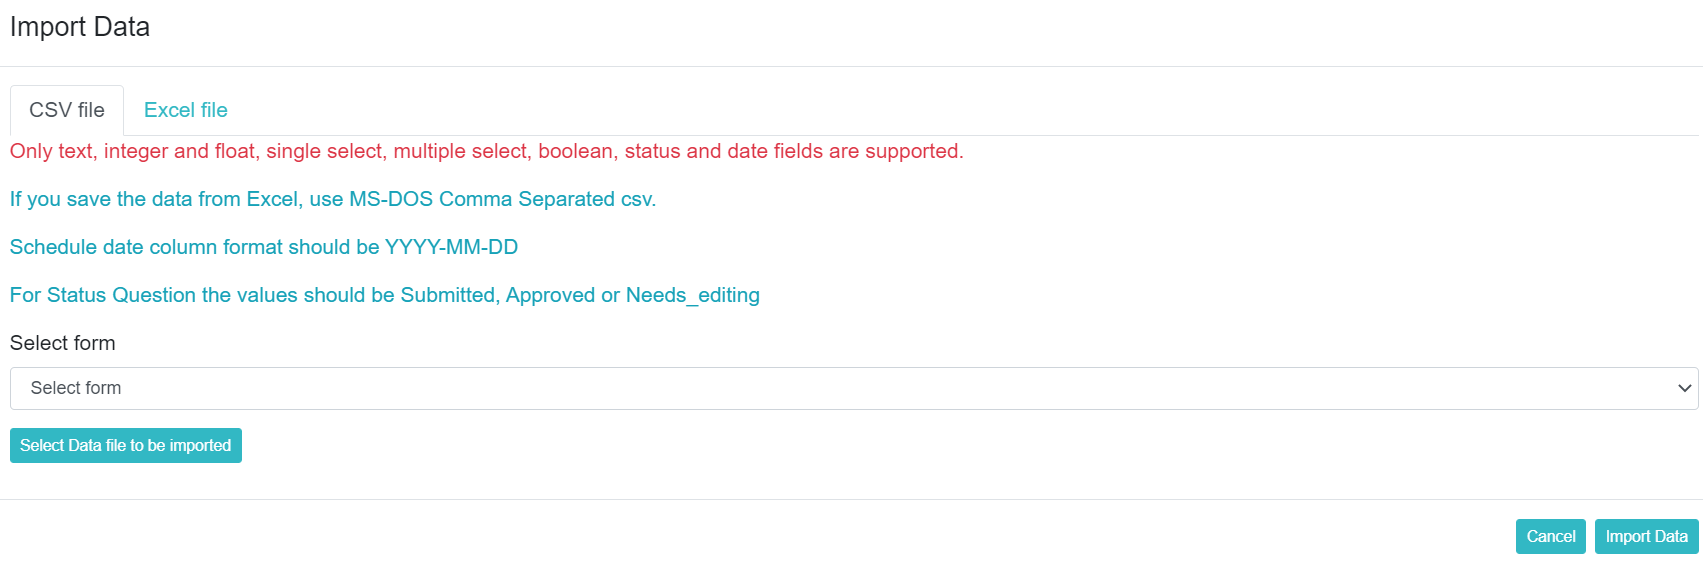
If you click on Data, a pop up window will be displayed as shown in the figure 43 below.

Figure 43: Selecting form and file to import
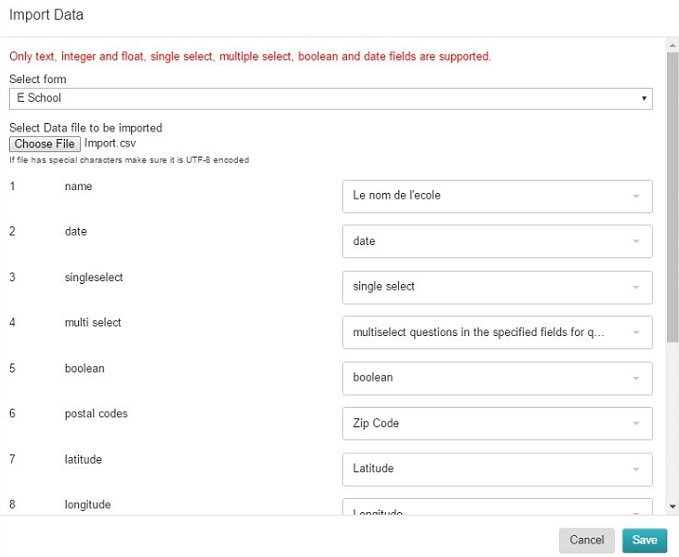
As shown on the pop up, only text, integer and float, single select, multiple select, boolean and date fields are supported. The Importing Data Points feature enables you to import data from a saved CSV file. This pop up allows you to select a form and to chose the CSV file you would like to import. You can then select the fields on the drop down as per the questions in the specified form. If the data includes an address, use automated geocoding to place the sites on the map. To include Geocode locations, click on the Geo-code locations check box.
When importing it is possible to schedule imported data points to dates defined in the imported file. This is done by selecting the Schedule date in the drop down fields Mmnu.The scheduled data points will be assigned to the importing user. Scheduled data points will then be shown on the Mobile client in the Scheduled folder as well as in the Schedule view in Data Viewer.
Click the Save button to save the imported file(s) or Cancel to abort.

Figure 44: Importing data
For Custom Maps, select Custom Maps after clicking the Import button.

Figure 45: Importing custom maps
As shown on the pop up, PDF, Image, TIff, KLM, Dxf or MBtiles are accepted as import formats of custom maps. First you will be required to enter a name for the map you are importing then select the file to import.
If the format is DXF then the spatial reference system (SRS) system used by the imported map needs to be given.
After selecting the file click on upload custom map and your map will be uploaded. The map will be added to library of available maps to all users in the user group. So for instance, any user in the same user group can then select any imported map as the background map also in the mobile app.